
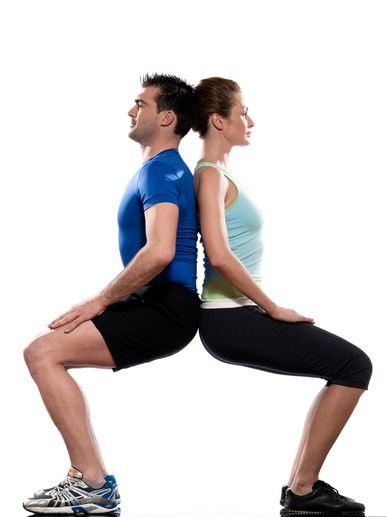
Perfecting the Wall Sit
If you don’t watch your form and concentration on how your body is positioned, a simple exercise like the wall sit has the potential to cause injury—just as any other exercise does. The wall sit—when done correctly—requires use of your core, back, hips, thighs, feet and knees. If you have had a knee or ankle injury in the past, it’s very important to nail your posture. The same rule applies even if you haven’t, because when you use the muscles in your body correctly, you’ll be able to see fast results, and refer to the wall sit as a powerhouse of a lower body exercise you depend on!
Start by making sure that you are in the correct starting position. You should have your back pressed flat and straight against the wall behind you, and with your legs shoulder width apart. Take a look at where your legs are positioned. Are they touching the wall? If so, move them to be about two inches or two and a half inches away from the wall. Your arms should be loosely placed on either side of your body, and you should tighten your abdomen muscles as you lower yourself down the wall.
Control Your Movements
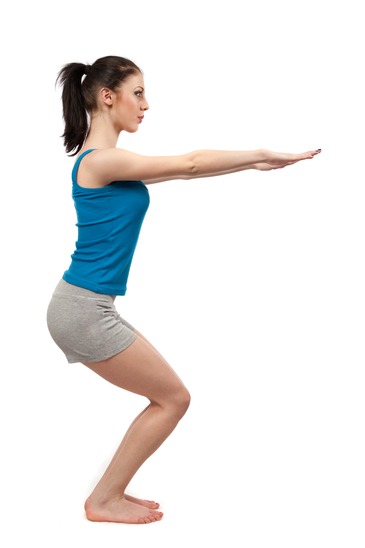
Once you’re at this 90 degree angle (or if you’re a beginner and can’t slide down that far, just go as far as you comfortably can), hold the position while continuing to tighten your abdomen muscles. Then, slowly and in a controlled manner, slide yourself up back to your starting position. When you’re got your form under control, you’ll reap the benefits of a workout, well done!